Product designer
Front and side product photos expose the profile, but a rear view is needed to place ports and seams.
Use all available angles as modeling references; a single-view starting point is covered in the linked guide.
Multi-view guide
A multiple images to 3d model workflow works best when the pictures show the same object from distinct angles. Gather clear, consistent views first, then check whether your chosen tool accepts several references or only a written description.
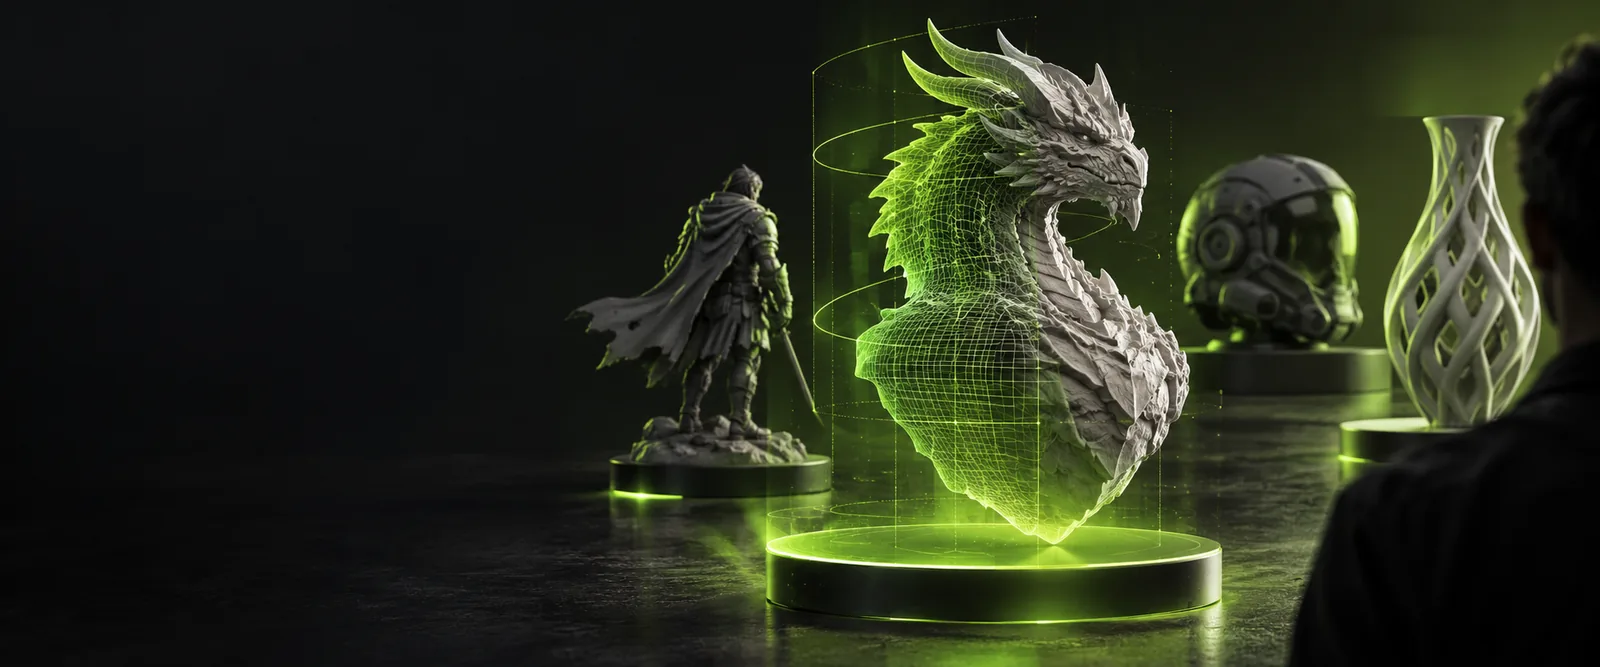
Modelers use extra views to resolve shapes that a single picture hides. These related guides cover other starting points and outputs.
The right reference set depends on the object and what you need to do with the result.
Front and side product photos expose the profile, but a rear view is needed to place ports and seams.
Use all available angles as modeling references; a single-view starting point is covered in the linked guide.
Character turnarounds help establish proportions before mesh cleanup.
Inspect topology and scale in a 3D editor before preparing an OBJ for the pipeline.
Object photos from several sides record markings that one image misses.
Keep the original photos alongside the model so uncertain surfaces remain identifiable.
Reference shots show the front ornament and the less visible back of a prop.
Check whether the resulting mesh needs repair before moving it into an OBJ-based workflow.
Before opening a modeling or reconstruction tool, organize the images so their relationship is clear.
Collect front, side, and rear views where possible. Keep the entire object visible and avoid substituting a different version of it.
Use similar lighting and a fixed object shape. Name files by viewpoint so you can recognize them during import.
Follow the handoff, then verify its supported image inputs. If it accepts only one image or a prompt, use the remaining views for manual comparison rather than assuming they were imported.
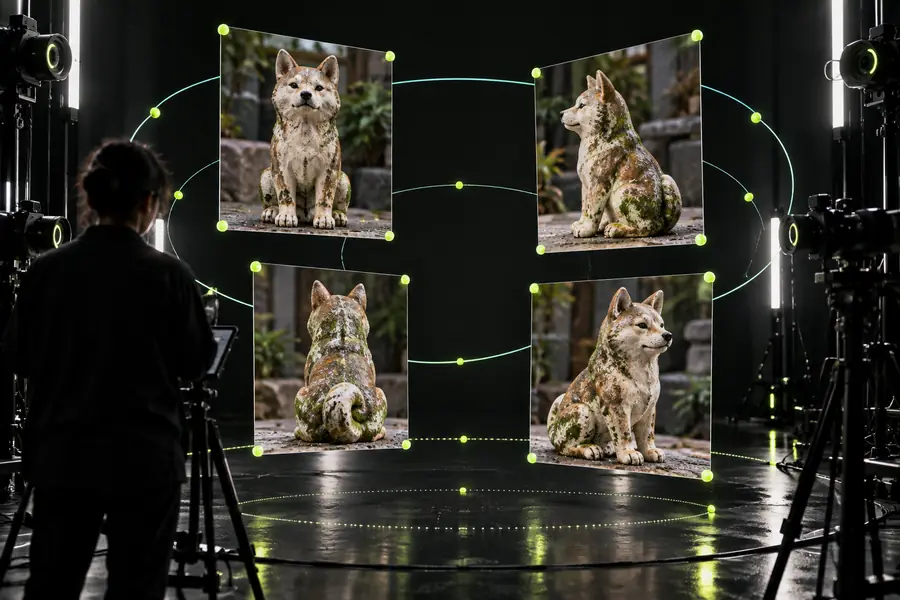
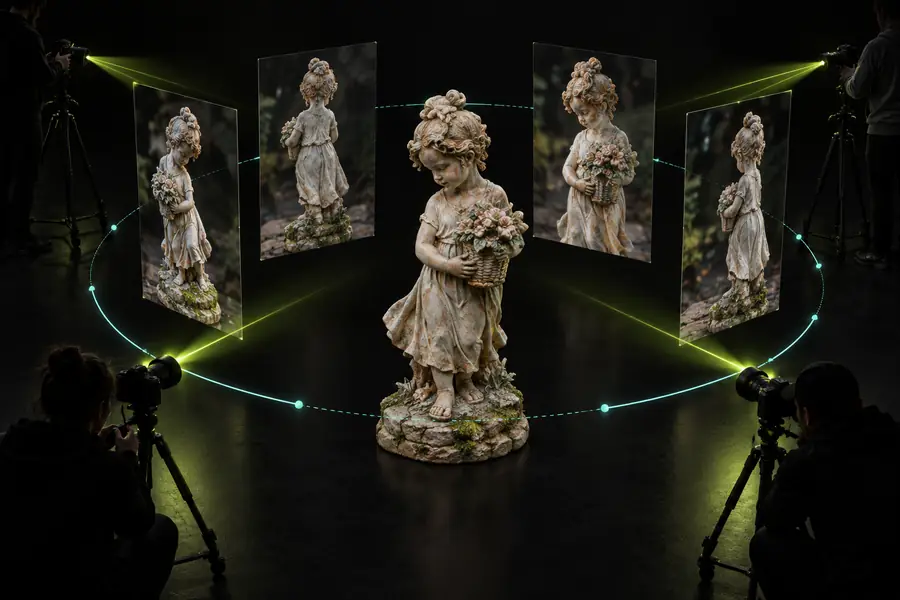
Illustrative comparison, not a verified conversion of the pictured photos. After import, rotate the model and compare its silhouette against every available view.
Reference images3D interpretationSeveral photos can guide either automated reconstruction or hands-on modeling, but the import requirements differ.
| Multi-view reconstruction | Manual reference modeling | |
|---|---|---|
| Image role | Multiple views supply evidence for geometry. | Views serve as guides while an artist builds geometry. |
| Best starting set | Overlapping photos of one unchanged object. | Clear front, side, and detail views. |
| Background | Distinct scene detail may help match camera views. | A plain background can make silhouettes easier to trace. |
| Camera changes | Capture new viewpoints without changing the object. | Align references by visible landmarks and proportions. |
| Hidden surfaces | Missing coverage leaves uncertain geometry. | The artist must infer or design unseen areas. |
| Final check | Inspect gaps, stray geometry, and surface detail. | Inspect proportions, topology, and intended export. |
An extra photo is useful only if it adds reliable information about the same object.
Photos of different versions can imply contradictory shapes; a workflow cannot reliably reconcile them as one object.
What to do instead
Separate each version into its own reference set.
Front-heavy sets do not establish rear depth or detail, even when they contain many images.
What to do instead
Capture a rear or three-quarter view, or mark that surface as an estimate.
Heavy cropping, reflections, and changing shadows can make viewpoints difficult to compare.
What to do instead
Retake evenly lit photos with the whole object in frame.
A destination may not accept several photos together. A prompt handoff does not itself import the reference set.
What to do instead
Check its input controls and use a compatible reconstruction or manual-reference workflow if needed.
Describe the object and the views you have, then confirm the destination's actual input options. Keep your reference images available for checking the resulting shape.
Some reconstruction workflows use overlapping photos to estimate geometry, but support varies by tool. Check whether the tool accepts multiple images and inspect the resulting mesh for missing or distorted areas.
There is no universal count: coverage matters more than an arbitrary number. Start with distinct views of the same unchanged object, then add photos where important surfaces remain hidden.
They should show the same object in the same physical state. Consistent features and visible landmarks make it easier to compare proportions across viewpoints.
The photos may omit a surface, show inconsistent lighting, or contain too little overlap for the chosen method. Compare the model against each view and retake images that leave the shape ambiguous.