Concept artist
A painted character concept needs a rough volume study before detailed sculpting.
Use the result to explore silhouette and depth, then refine anatomy by hand; a single view cannot establish the back of a costume.
Image-based modeling
An image to 3d model ai workflow can turn a visual reference into a starting point for a 3D asset. The image shows what is visible; the model must infer hidden surfaces, depth, and proportions, so expect to inspect the result rather than treat it as a measured copy.
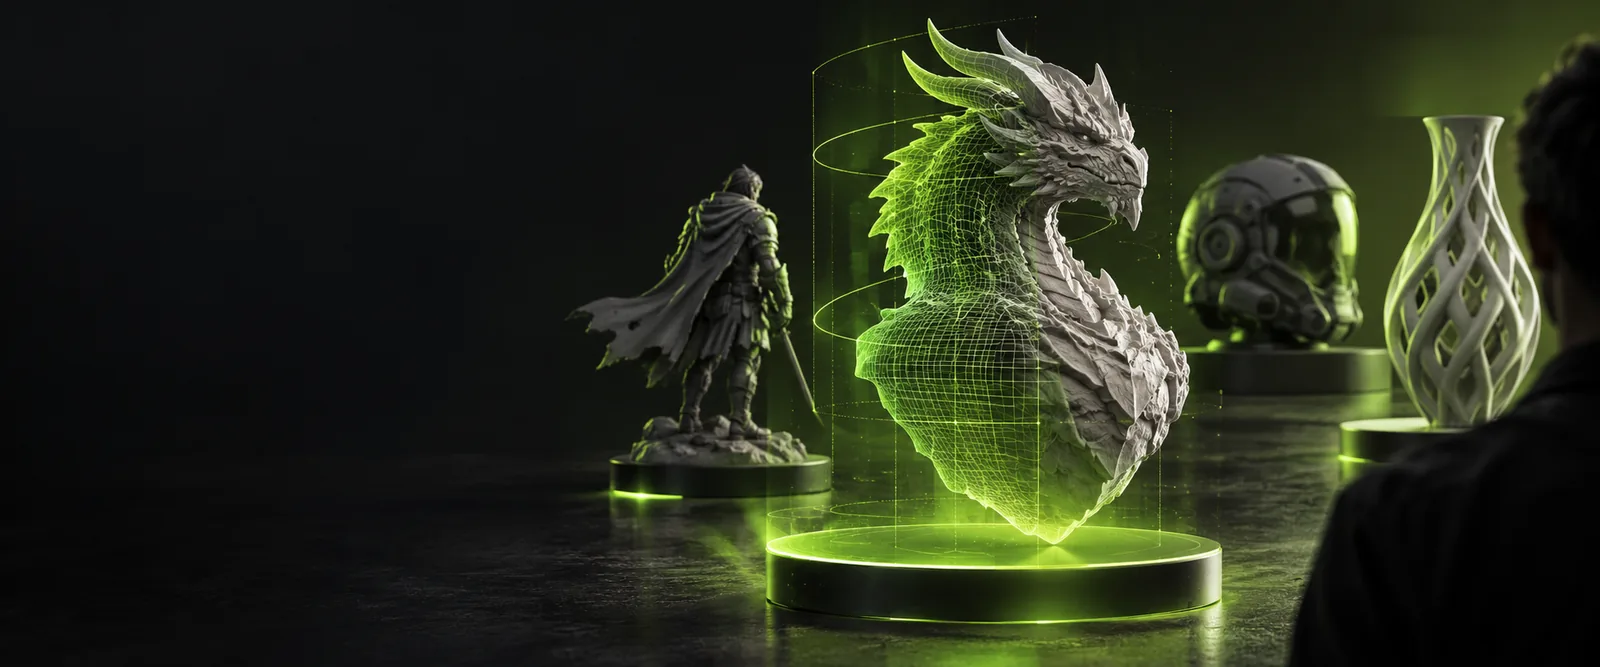
Start with one distinct subject, even lighting, and a view that reveals more than its front face. Choose a workflow based on the asset you actually need, not just the image you have.
A painted character concept needs a rough volume study before detailed sculpting.
Use the result to explore silhouette and depth, then refine anatomy by hand; a single view cannot establish the back of a costume.
A product photo shows the shape of a small object, but not its underside.
Begin with a clear three-quarter view and budget time to check the inferred base and any thin parts.
A reference image suggests a textured prop for a game scene.
Treat generated geometry as a draft; topology, materials, and export requirements still need verification.
A room photograph is available, but dimensions and hidden walls are unknown.
Use the image for a visual blockout, not as a substitute for a measured floor plan.
For a ceramic bird figurine, the goal is a recognizable first-pass 3D shape—not a production-ready replica.
Select a sharp three-quarter photo with the whole figurine in frame. Remove distracting background clutter if possible, and note which features matter: rounded body, short beak, and painted wings.
Open the creation destination and check which image inputs it accepts. If an image option is available, provide the reference and describe the bird as a freestanding figurine rather than a flat relief; otherwise, use the description as a starting point.
Rotate the resulting 3D model from image reference, if one is produced. Check the unseen wing, underside, and beak. Revise ambiguous details or move to a modeling editor when geometry needs precise correction.
The right next step depends on whether your obstacle is reference coverage, file compatibility, or manual editing.
AI-assisted reconstruction and manual modeling solve different parts of the same problem. Neither makes a single photograph reveal surfaces it never captured.
| AI-assisted first pass | Manual modeling from reference | |
|---|---|---|
| Best starting material | A clear, isolated view of a distinct subject | Reference images plus dimensions or design notes |
| Initial shape | Inferred from visible cues in the image | Built deliberately by the artist |
| Hidden surfaces | Estimated and subject to errors | Designed or measured as needed |
| Proportional control | Requires inspection and possible revision | Can be set directly against references |
| Topology | Must be checked for the intended downstream use | Can be planned for that use from the outset |
| Good use | Exploring a visual concept or rough asset | Producing controlled geometry to a specification |
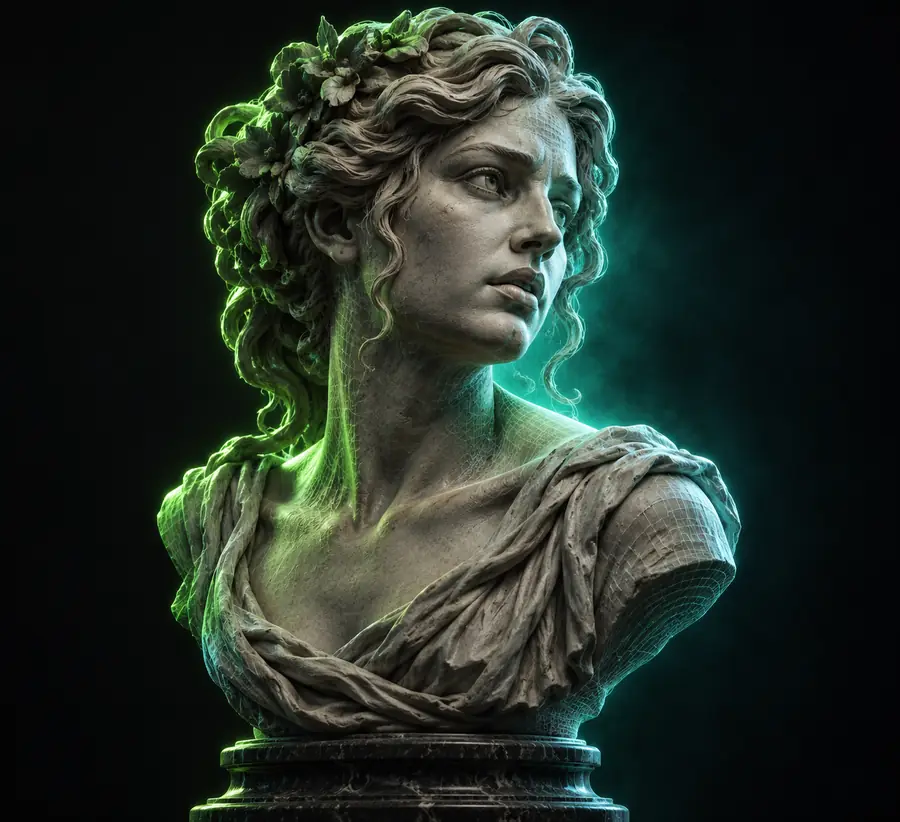
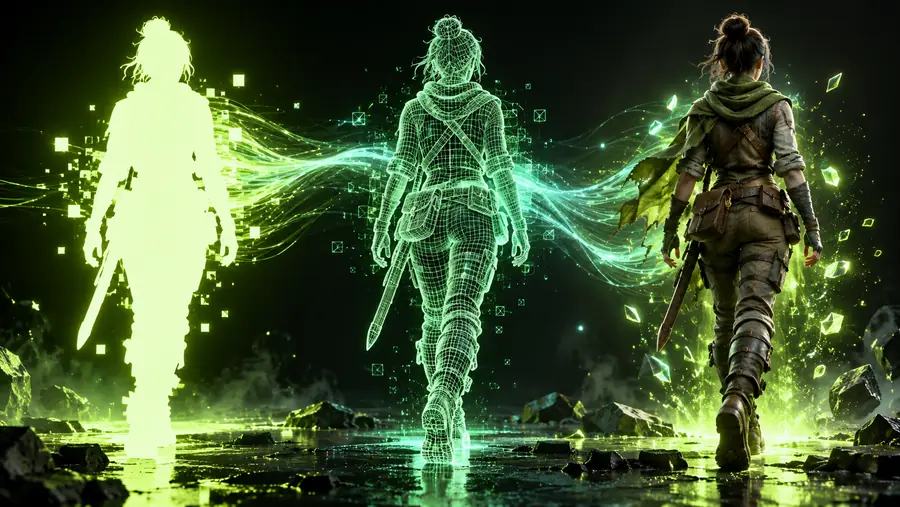
This pair illustrates the change from a flat reference to a viewable form; it does not establish exact geometry, dimensions, or a guaranteed result for your image.
Reference imageIllustrative 3D previewThe most common problems come from missing visual information, not from a lack of detail in the prompt. Plan a correction step before using an output in a larger project.
A front-only image does not specify the back, underside, or interior of an object. Any 3D model from image evidence must make assumptions about those areas.
What to do instead
Collect side and rear references, or model unseen parts manually.
A photograph without a known scale cannot establish reliable real-world measurements, even if the resulting shape looks convincing.
What to do instead
Add measurements or a scale reference and verify dimensions in a modeling application.
Transparent material, hair, wires, and objects crossing in front of one another can be difficult to interpret as separate surfaces.
What to do instead
Use a simpler reference or isolate and rebuild delicate features after the first pass.
A plausible preview does not prove clean topology, suitable materials, or compatibility with a particular export pipeline.
What to do instead
Inspect the mesh and test it in the application where it will be used.
Pick a distinct object, record the features that must survive, and check the available creation options at the destination. A 3D model from image reference is most useful when you can rotate it, identify uncertain areas, and decide what needs manual work.
AI-assisted tools can infer a three-dimensional shape from one image, but the result is an interpretation rather than a scan of the original object. Surfaces the camera did not capture need to be guessed or corrected later.
A sharp, well-lit image with one clearly separated subject gives the workflow more useful shape cues. A three-quarter view often reveals more depth than a straight-on view, although additional references can still help.
Do not expect an exact match in proportions, hidden geometry, or small surface details. Compare the output against the reference from several angles, especially before relying on it for a game, render, or physical object.
A visually convincing model is not automatically printable. Before printing, check scale, wall thickness, enclosed volumes, and mesh integrity in software suited to preparing prints.
Often, yes. Cleanup may include fixing inferred surfaces, adjusting proportions, rebuilding thin details, or preparing topology and materials for the asset’s intended use.