File format guide
Image to 3D OBJ: From a Flat View to a Mesh
An image to 3d obj workflow does more than change a file extension. It estimates a three-dimensional shape from visible pixels, then represents that shape as geometry you can inspect. This guide separates what the image shows from what the resulting mesh can actually contain.
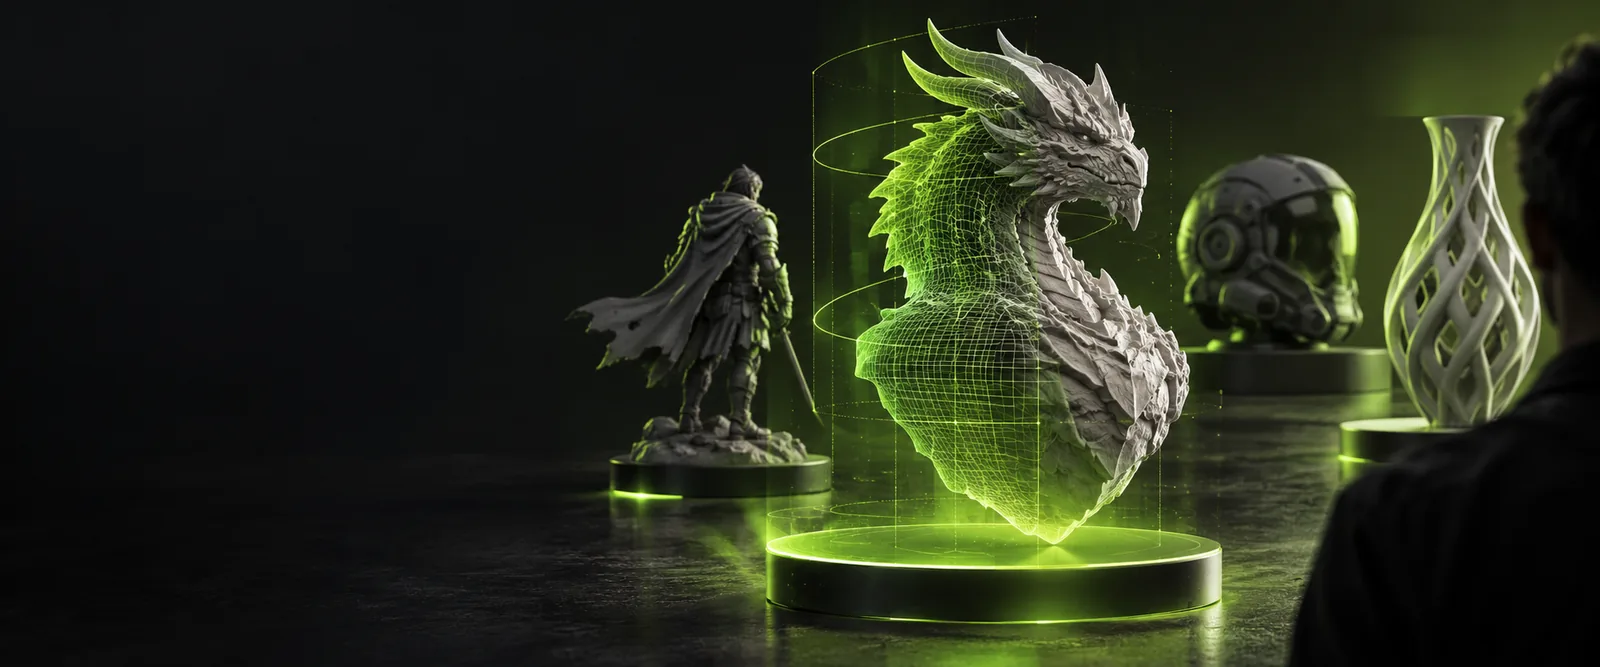
A/B structural difference table
The important difference is not the filename: a picture stores a view, while an OBJ stores positions and connections in 3D space. Choose a related guide if your desired output is different.
- 2d image to 3d image Compare a flat source with a depth-styled image when you need a visual result rather than mesh geometry.
- multiple images to 3d model See why views from several angles can provide more evidence about an object’s hidden surfaces.
- image to 3d model ai Explore how image-driven model generation differs from simply converting an existing file format.
What conversion loses
Treat the source as evidence, not a complete blueprint. These three checks help identify where a plausible mesh may still be an interpretation.
-
1
Identify visible surfaces
Mark the silhouette, major contours and clearly visible details. A single photograph does not reveal the back, underside or depth of surfaces facing away from the camera.
-
2
Separate appearance from shape
Shadows, reflections and printed patterns can look like raised geometry. Decide which features must become part of the mesh and which should remain surface appearance.
-
3
Plan for uncertain areas
Inspect or remodel concealed parts before using the object in a scene. If accurate proportions matter, additional photographs or measured dimensions are more useful than guessing from one view.
The tool block
Use this comparison when assessing a conversion tool or an exported file. OBJ is a geometry format; an accompanying material file and texture images may be needed to reproduce the source’s appearance.
| Source image | OBJ mesh | |
|---|---|---|
| Basic structure | A grid of colored pixels | Vertices connected into faces |
| Viewpoint | One fixed camera view | Geometry viewable from multiple angles |
| Depth | Suggested by perspective and shading | Represented by vertex positions |
| Hidden surfaces | Not recorded in the picture | Must be inferred or modeled |
| Color | Stored directly in the image | May require separate materials or textures |
| Editability | Pixels can be retouched | Faces and vertices can be edited |
| File check | Open the picture and inspect its subject | Import the OBJ and inspect its mesh |
How to verify after
Before relying on an output, confirm that your chosen tool actually offers OBJ export. Import the resulting file into your 3D editor, rotate it to inspect the back and underside, and check for missing faces, unexpected holes and distorted proportions. If color matters, confirm that any referenced material and texture files arrived with the OBJ. A convincing front view alone cannot establish that the whole model is usable.
Inspect the mesh, not just the preview
- Confirm the export format
- Rotate the imported geometry
- Check materials and texture references
Variant FAQ
A tool can estimate a mesh from one image, but the image supplies only one visible view. Expect hidden geometry to be inferred rather than recovered exactly, and verify that the tool provides an OBJ export before depending on that format.
OBJ primarily describes mesh geometry. Appearance may rely on a separate material file and referenced texture images, so transferring only the OBJ can leave the model looking untextured.
No. Renaming a file does not create vertices or faces; conversion requires a process that constructs geometry from the picture or uses the picture as a modeling reference.
The photo’s lighting, perspective and background can affect how its subject appears. The mesh also needs geometry for areas the camera never captured, so inspect it from several angles and refine uncertain parts when accuracy matters.