Concept artist
A painted prop shows only its front face; the artist wants to test whether its silhouette reads from an angle.
Use the spatial interpretation to discuss shape, then inspect an editable deliverable through image to 3d obj.
Input to output
A 2d image to 3d image workflow uses a flat reference to suggest depth, volume, and viewpoints. The result may be a dimensional-looking image rather than an editable 3D model, so decide which output you need before you begin.
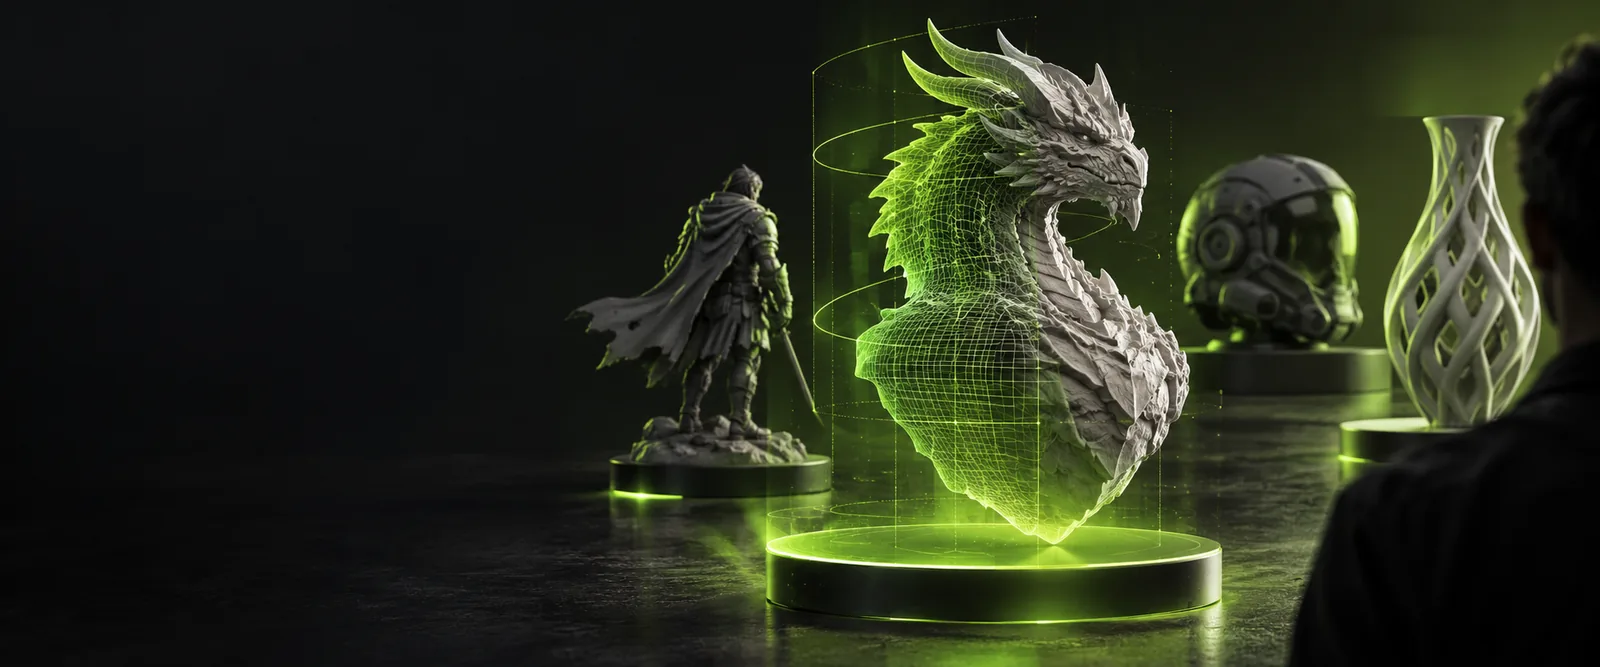
The goal is a spatial interpretation of a flat picture, not automatic proof of the object's hidden shape. Choose a nearby workflow when the deliverable matters more than the visual impression.
A spatial view can expose questions about proportion and depth before anyone commits to modeling. What it cannot show reliably is just as useful to identify.
A painted prop shows only its front face; the artist wants to test whether its silhouette reads from an angle.
Use the spatial interpretation to discuss shape, then inspect an editable deliverable through image to 3d obj.
One product photograph hides the back, base, and exact thickness.
Collect side and rear references before treating an inferred shape as a design decision.
A character sketch needs a quick volume check before detailed sculpting.
Review the apparent depth first, then distinguish that preview from a usable mesh via image to 3d obj.
An object appears in several photographs taken at different angles.
Compare those views so a proposed shape does not rely on a single image's shadows.
Treat conversion as a short review cycle rather than a guarantee that every pixel becomes geometry.
Start with a well-lit object whose edges are visible. Separate it from a busy background, and note which surfaces the camera cannot see.
Specify the subject, its main silhouette, and the depth cues that matter. If an image input is available, check its requirements on the partner site before submitting.
Look for changed proportions, invented rear surfaces, and shadows mistaken for structure. Verify whether the output is an image or an editable model before using it downstream.
These distinctions help you evaluate a 2d image to 3d image result without mistaking visual depth for complete geometry.
| Flat reference image | Spatial-looking result | |
|---|---|---|
| Visible surfaces | Only the surfaces captured by the camera | May suggest surfaces beyond the original view |
| Depth | Implied by perspective, shading, and overlap | Expressed more explicitly, but may be estimated |
| Hidden back | Not recorded | Inferred, not verified from the reference |
| Surface detail | Directly visible where the image is sharp | May change on reconstructed or newly shown areas |
| Viewpoint | Fixed to the original camera angle | May present another angle if the workflow supports it |
| Editable geometry | Not contained in the image | Must be confirmed separately; a rendered image is not a mesh |
A single front view contains no direct evidence of rear geometry. A plausible rear surface can still be wrong.
What to do instead
Provide side or rear references when their accuracy matters.
Perspective and lens distortion make dimensions hard to recover from one ordinary picture.
What to do instead
Supply known dimensions and check proportions against them.
An image with convincing depth may remain a flat image with no editable vertices or faces.
What to do instead
Confirm the actual output type before planning an import or fabrication workflow.
Start with a clear reference and a concise description of the shape you want to examine. Review the partner site's available inputs and outputs, then check the result against your original image.
Not necessarily. A result can look three-dimensional while still being a flat rendered image. Check whether the workflow actually provides editable geometry if you need a model.
No. A front-facing picture does not record the back, so any rear detail must be inferred. Additional views give you a better basis for judging that inference.
A sharp, well-lit reference with a distinct outline makes the visible shape easier to read. Heavy shadows, reflections, and clutter can be mistaken for parts of the object.
Compare its silhouette and visible details with the source, then inspect any newly shown surfaces for unsupported guesses. If your next step requires rotation or editing, confirm that you received a model rather than only another image.